DIY MacBook Pro Speaker Repair (Retina, 13-inch Late 2013)

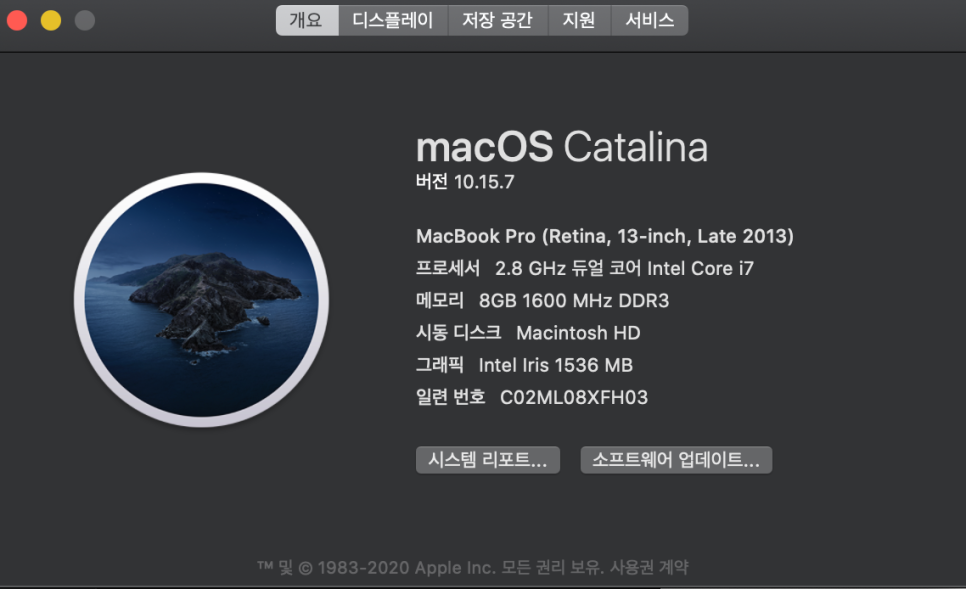
One day, something went wrong with my MacBook's speakers.
The sound was coming out badly distorted.
My model is from 2013... it's been a whopping 7 years,
so a breakdown was bound to happen eventually.
I searched online for MacBook speaker repair costs,
and it looked like a private repair shop would charge around 70,000-80,000 KRW.
Going to an official Apple service center would cost even more.
Even a private shop is a fairly hefty expense.
Looking into it, the repair itself didn't seem all that difficult,
and the parts weren't very expensive either.
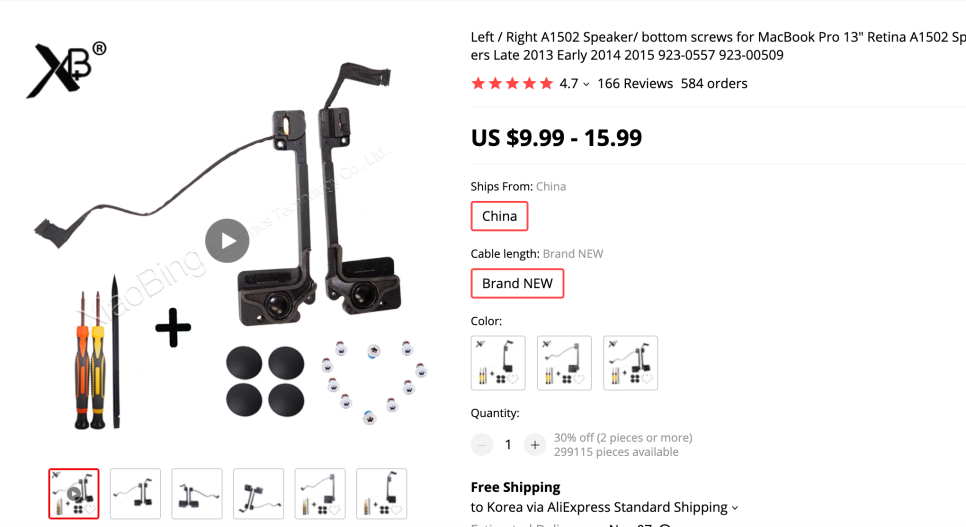
Both the left and right speaker parts together cost $15.99.
I know that as soon as you go with a third-party repair instead of an official one, Apple's warranty is voided,
but since I'll likely keep doing DIY repairs going forward anyway,
I decided to just do it myself.
If I mess it up, that's it, game over.
Enough with the long intro, let's get into it.
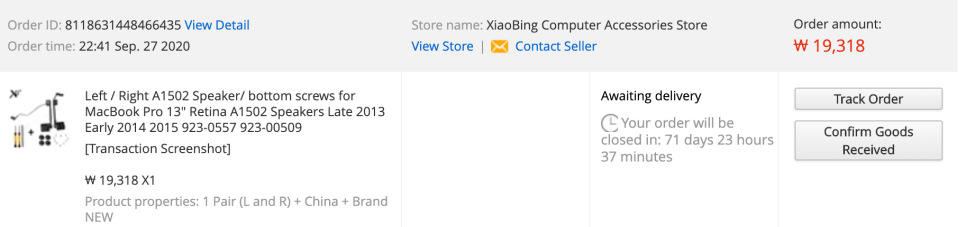
I ordered the left and right speaker parts.
I placed the order on September 27th and it arrived on October 15th.
Shipping seems to take roughly 2-3 weeks.
To do the repair, you first need to take off the bottom case of the MacBook.
MacBooks require special screwdrivers,
so you need to get those along with the speaker parts.
I bought a kit that included them.
Mac's screws aren't the usual Phillips or flathead type,
they're a star-shaped (Pentalobe) screw.
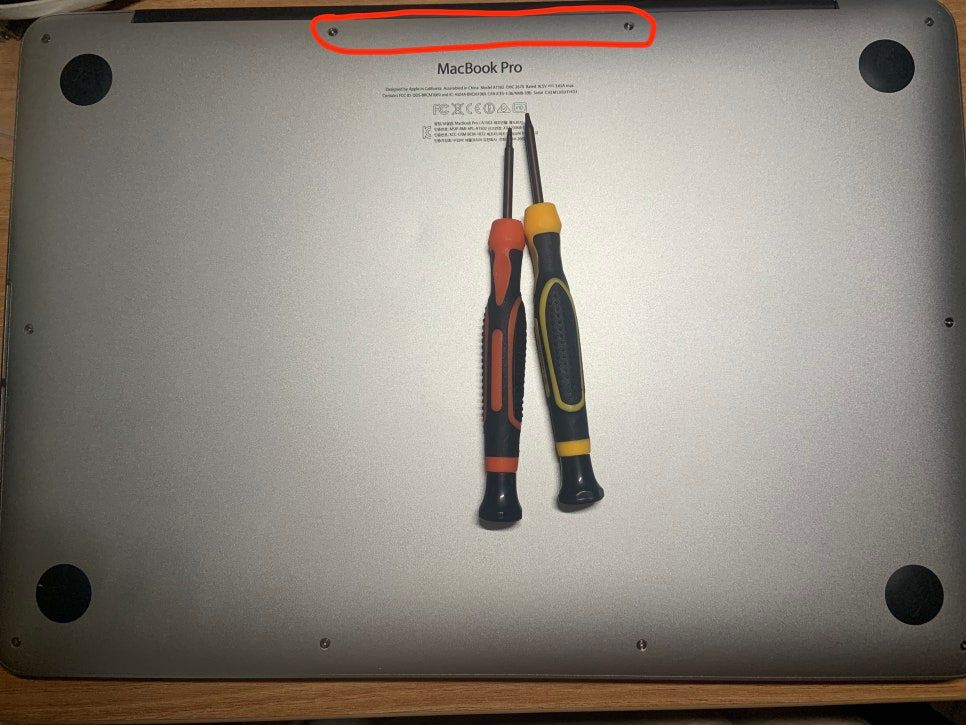
There are two dedicated drivers,
and the red one, 1.2x40 mm,
was for the bottom case screws.
While disassembling I realized that not all 10 screws are identical —
only the ones marked in red were slightly different in length.
I'm not sure if that's how it's meant to be,
but just in case, I sorted them separately so they wouldn't get mixed up with the others later.
To remove the panel, lift up from the top edge and pull it off.
There's a gap in the middle of the panel where it clips onto the lower frame,
but since it's just held in place by friction, it comes off with a reasonable amount of force.
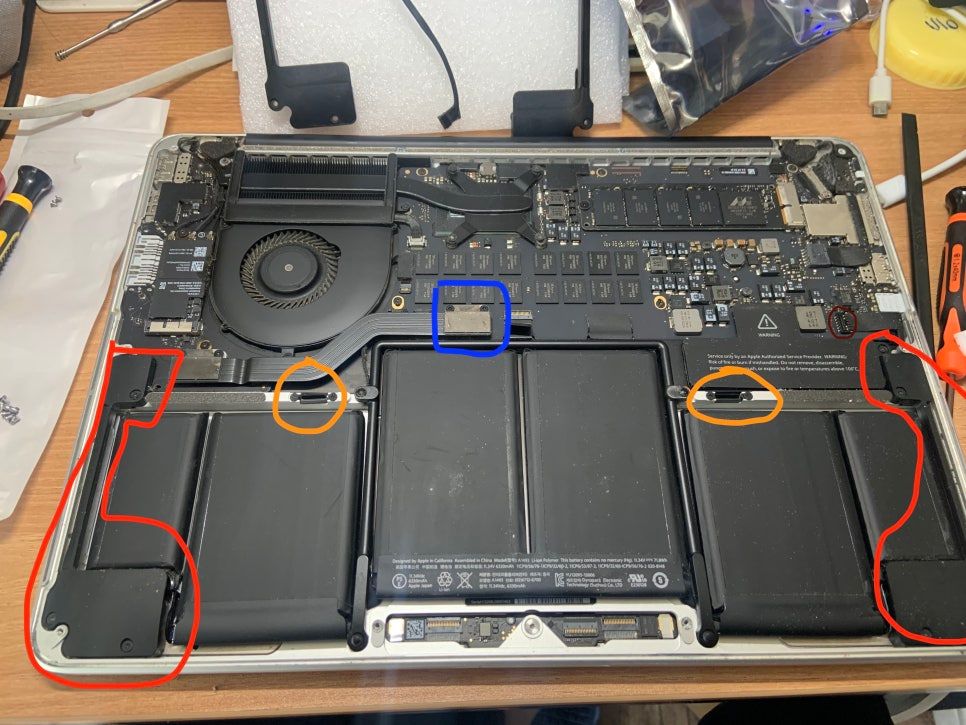
A photo after removing the bottom case.
The first time I opened it up, I was startled by how much dust there was, and amazed at how precisely and neatly all the components were laid out.
If you look at the part marked in orange, there's a gap there.
That's the part that clips onto the bottom case.
When I first pulled the panel off, I felt some resistance — that's exactly where it was clipped in.
Now, let's replace the speakers.
I had imagined the repair would be some huge, difficult ordeal,
but it turned out to just be a simple part swap.
That's exactly why people say it's easy.
The components are modular,
each one plugs into its own slot on the main board,
and if something breaks, you just replace that one part.
It's not really a different concept from a desktop PC.
Since the left and right speakers have different shapes,
it's easy to tell which one goes where.
Based on the photo, I replaced the speaker on the right.
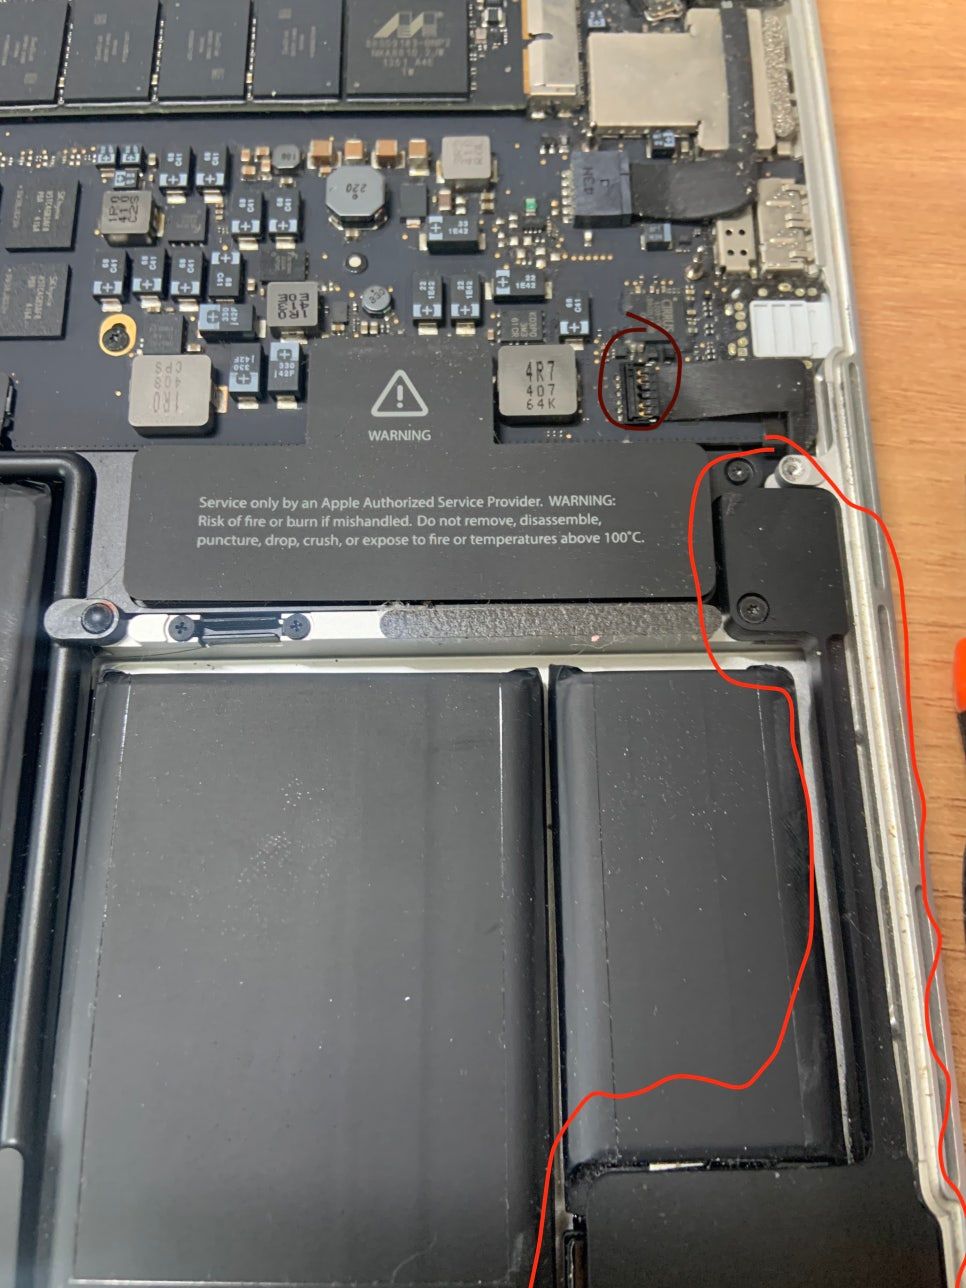
It got cut off in the photo,
but the speaker is held in place by three screws total —
one at the top and two at the bottom.
After removing these screws, you need to disconnect the cable connecting it to the board.
The part marked in dark red is where the speaker connects to the board.
There's something to watch out for here.
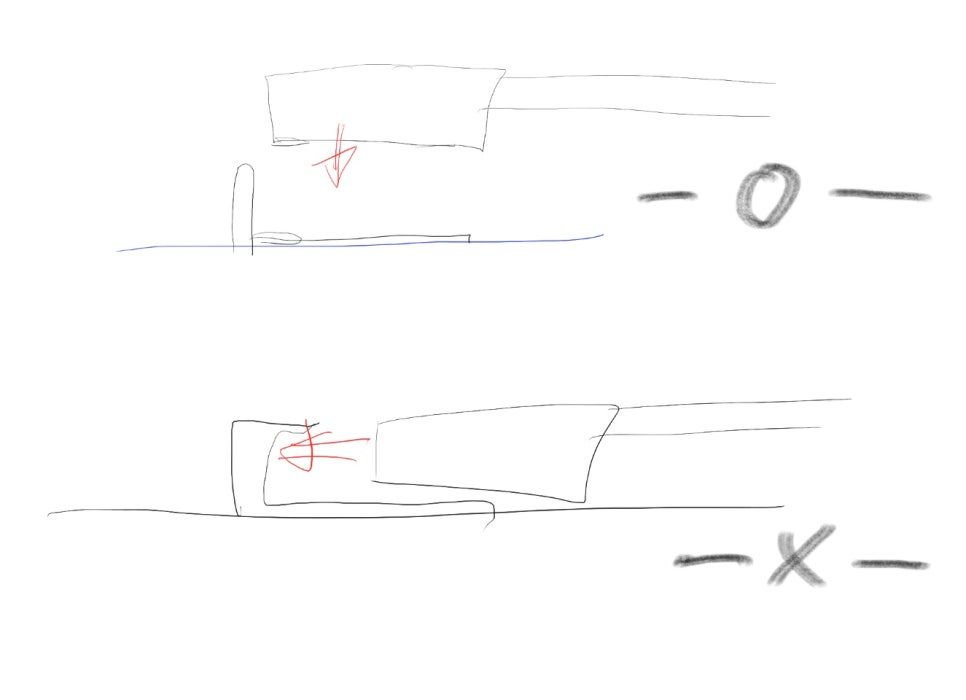
It's a connector you insert from top to bottom,
not one you plug in horizontally.
I didn't realize this at first and got stuck for a while.
Once you remove the old speaker, just plug in the new one.
Do the same for the other side.
However, it was a little different there.
There's a cover sitting on top of the cable that connects the speaker to the board.
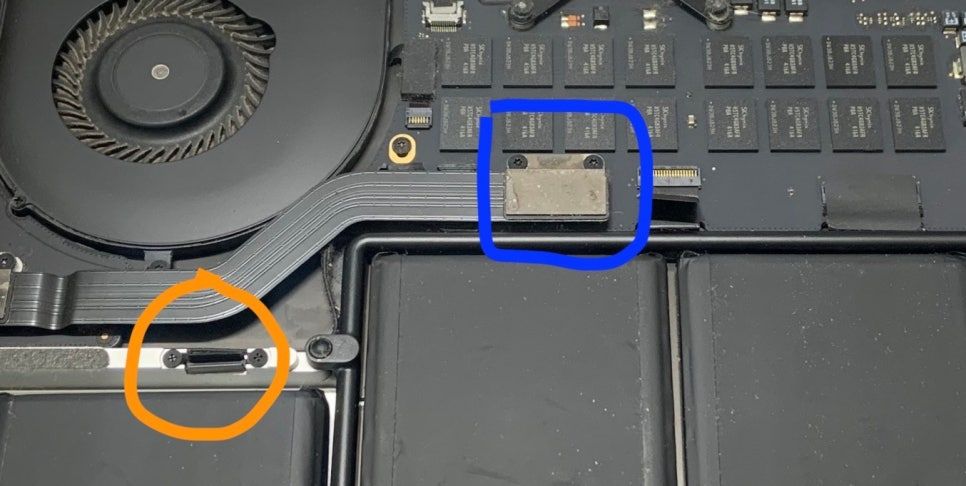
That's the part marked in blue.
You need to remove this cover before you can pull out the speaker cable.
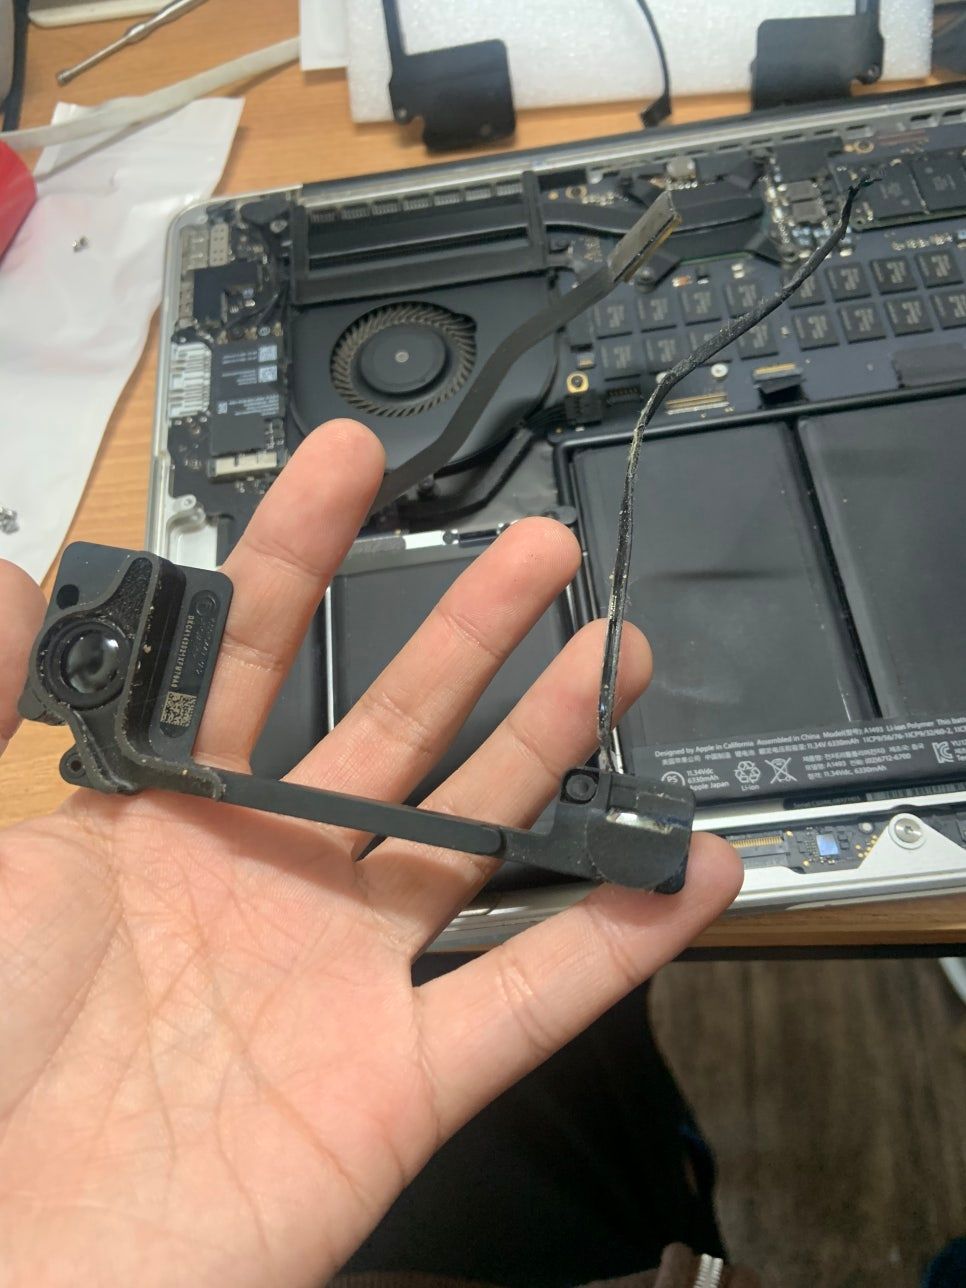
Once you remove the cover,
you can detach the speaker.
Both the left and right speakers were now replaced.
Reassembly is just disassembly in reverse!
Feeling excited, I finished cleaning the inside and completed the reassembly.
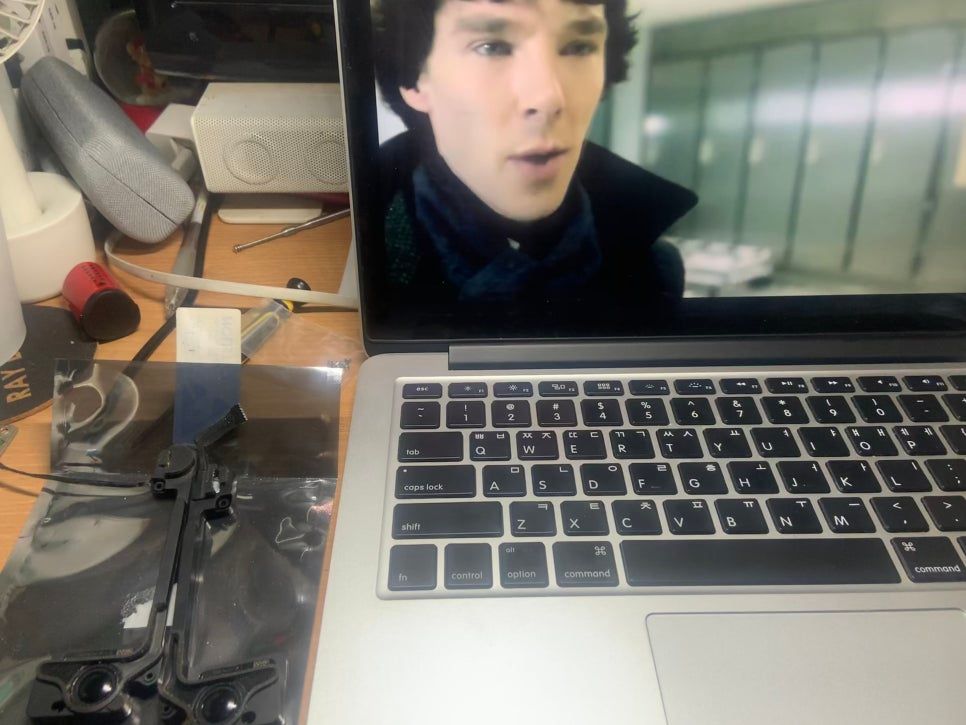
Once reassembled, I tested the sound using Sherlock to make sure it worked properly.
The sound was working perfectly.
But then a problem came up.
The Wi-Fi wasn't picking up any networks.
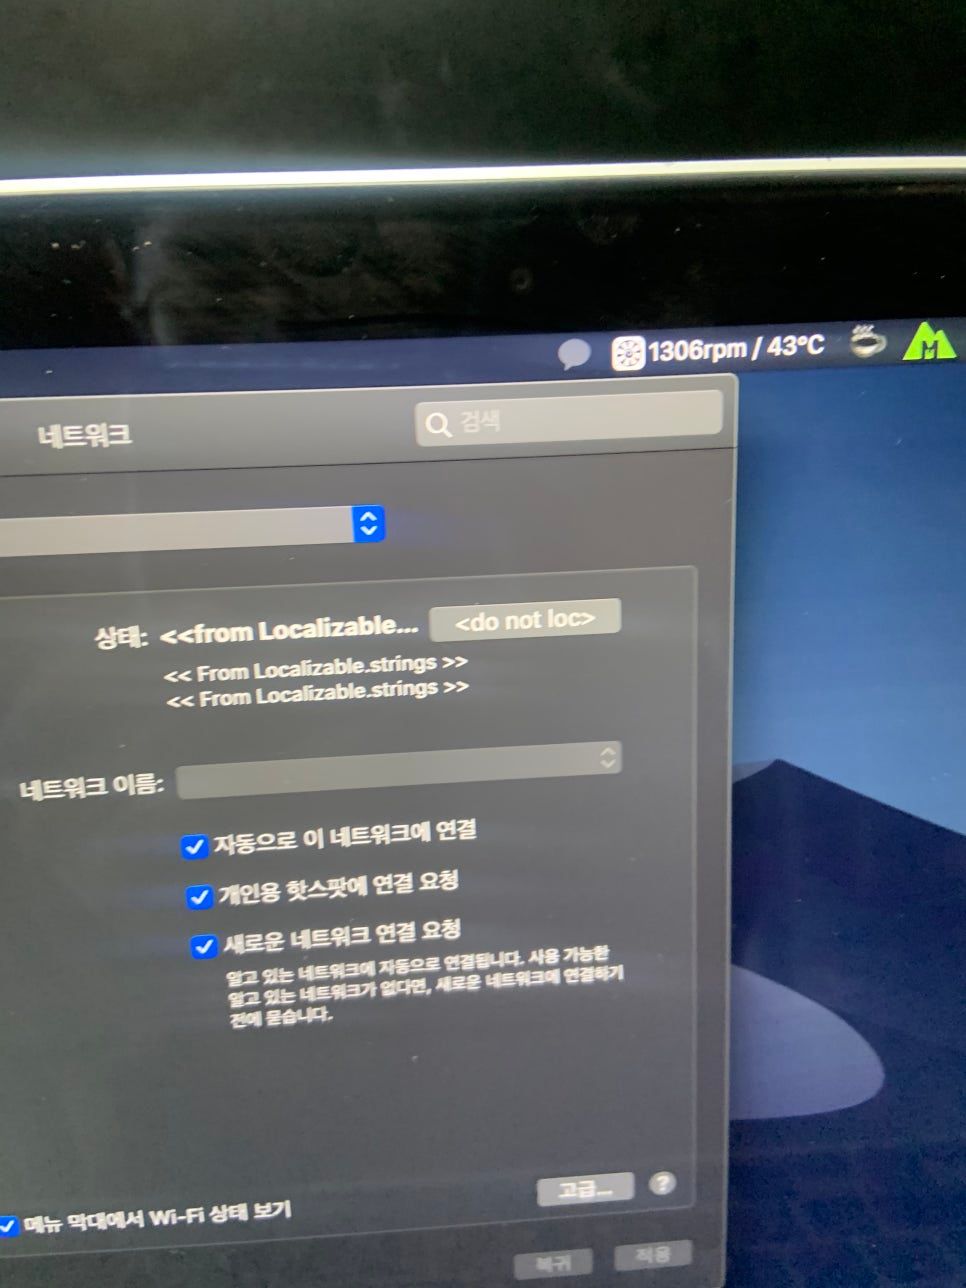
I panicked.
I hadn't touched anything besides the speakers — all I did was clean the dusty interior and put it back together, yet somehow I'd run into a brand new problem.
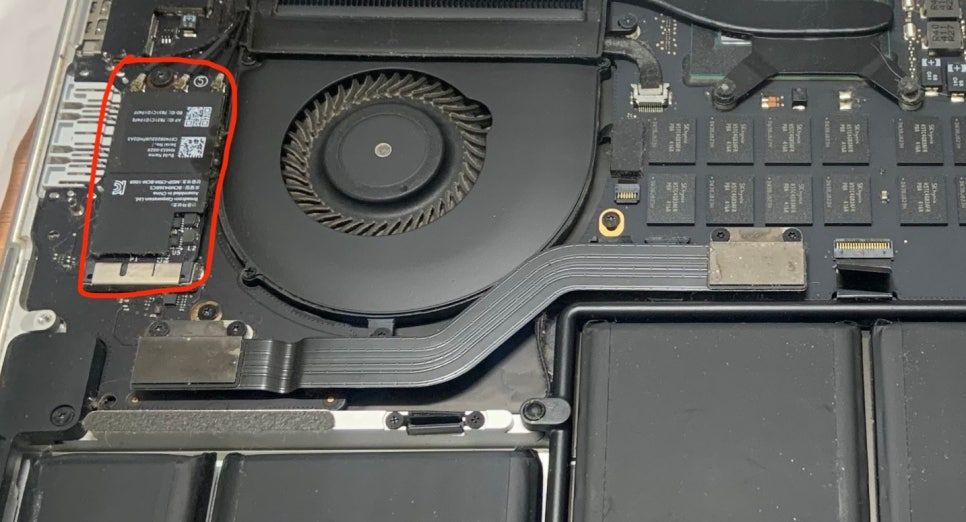
After some searching, I found that the part responsible for Wi-Fi is called the AirPort card.
Could it have broken while I was cleaning out the dust?
A crackling speaker is a minor annoyance,
but no Wi-Fi is a serious problem.
Was this a case of penny-wise, pound-foolish...
Anyway, thinking maybe a cable had come loose during cleaning,
I fully disassembled the AirPort card, cleaned out all the dust inside, and reinstalled it.
The disassembly process was simple.
After disconnecting the three cables on top,
remove the screw at the top,
then pull it out of the slot at the bottom.
Unlike the speaker, this one was held in by sliding into a slot rather than clipping in.
Even after doing all that, it still didn't work properly.
Had it died, just like my RAM once did...?
I searched for cases from other countries
and found a handful of similar reports.
Following their instructions, I tried resetting the SMC, resetting the PRAM, resetting the network settings, and more.
Nothing worked, and time just kept slipping away with no progress.
Did I need to replace the part...?
Looking at the model number, it read bcm94360cs.
I checked the price on AliExpress,
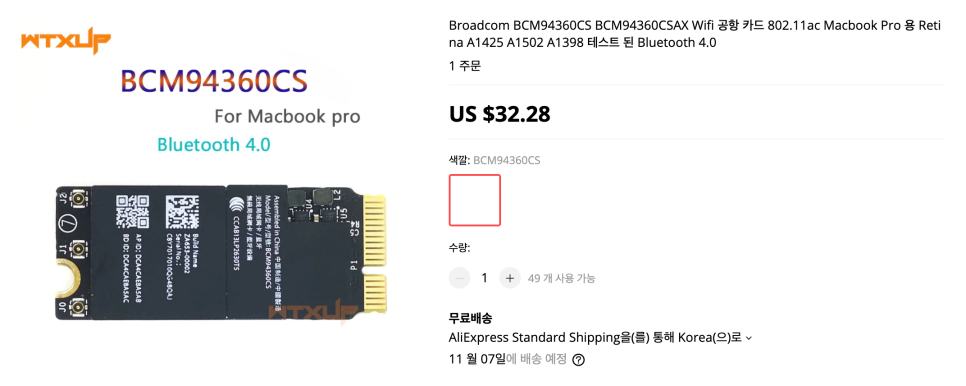
$32.28.
I fixed a 20,000-won problem only to break a 30,000-won part... I nearly cried.
Plus, how long would I have to wait for international shipping this time...
But then, thinking about it more, something seemed off.
Bluetooth was working fine, but only Wi-Fi wasn't.
The AirPort card handles both Bluetooth and Wi-Fi,
so if it were actually broken, shouldn't both be down? Why would only Wi-Fi fail?
Had I touched something other than the speakers without realizing it?
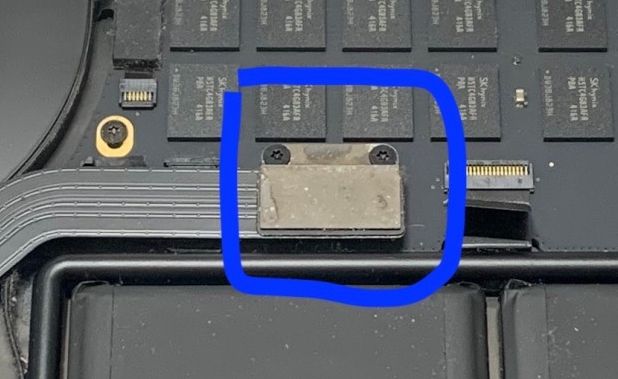
Shock!
The part I had assumed was just a simple cover
turned out to actually be the Wi-Fi antenna connector.
I had just treated it as a cover and reassembled it carelessly,
but once I properly seated it into its slot,
the Wi-Fi started working normally again.
After 9 hours of struggling, it finally clicked.
Since my goal wasn't to produce a technical document but purely a rough reference for reassembly,
I took the photos casually while doing the repair,
so the material is a bit sparse and the writing is rough.
Next time, I'll try to document things more carefully as I go.
댓글 0