A Beginner's Guide to Formatting Windows -1. Creating a Bootable USB


- 컴알못 초보자를 위한 윈도우 포맷하는 법 -1.부팅디스크 만들기
- 컴알못 초보자를 위한 윈도우 포맷하는 법 -2.포맷하기
- 컴알못 초보자를 위한 윈도우 포맷하는 법 -3.윈도우 설치 | 재설정
When your computer gets too slow, or some kind of problem comes up,
people format it.
It's not a hard task at all, but
many people think formatting is a really difficult concept
and get intimidated by it.
I've put this guide together for exactly those people.
It's really not difficult — it just feels that way because it's unfamiliar.
I'll walk you through it step by step,
so keep this around for whenever you might need it.
Before we dive in,
let's quickly go over the basic concepts.
If you'd rather skip this part, that's totally fine.
But it's not hard, so please do take a look! haha
First of all, formatting is not the same thing as installing Windows.
It's the process of setting up the file storage structure
on your hard disk or SSD so that an operating system like Windows can be installed on it.
To do that, it also wipes all the files.
For those who are curious to know more,
there are different formats such as NTFS, FAT32, FAT64, and so on.
That's getting a bit complicated,
so to put it simply, think of formatting as
the initialization and structure-setup step that comes before installing Windows.
Because of this, when you format a drive,
all the files on it get wiped out.
When people casually say "I need to format my computer,"
they're usually talking about the whole process below, in general terms.
[Format Windows → Install Windows]
At this point you might be wondering:
if formatting erases everything on the hard drive, how does the computer even run afterward?
That's right — it can't run.
That's why we need to create something called a bootable disk,
so the computer has something to run from.
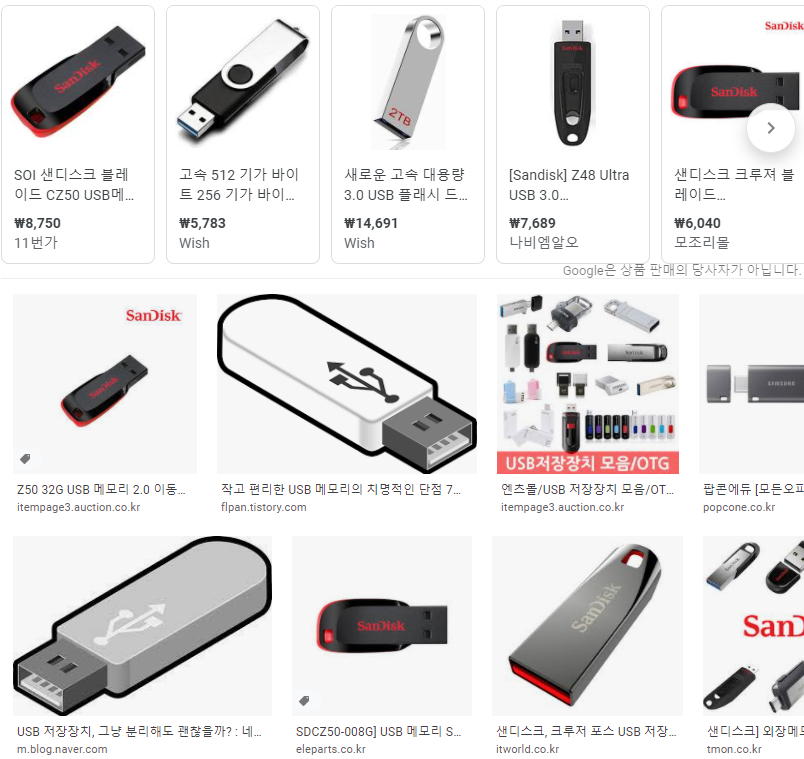
You know this kind of USB storage device, right?
We install a program on it that lets the computer boot and run,
and that's what gets things going.
"Install the formatting program onto a USB drive, then run the program from that USB drive."
That's basically the idea.
If these concepts still feel too difficult,
feel free to ask me, or just skip past this part — either is fine.
I explained it mainly because
some of you might be wondering why you need a USB drive at all
just to format a computer.
Windows format & install order
Prepare a bootable disk
Format
Install Windows
Broadly speaking, that's the order the process breaks down into.
This whole process is for installing or reinstalling Windows.
That said, in Windows 10,
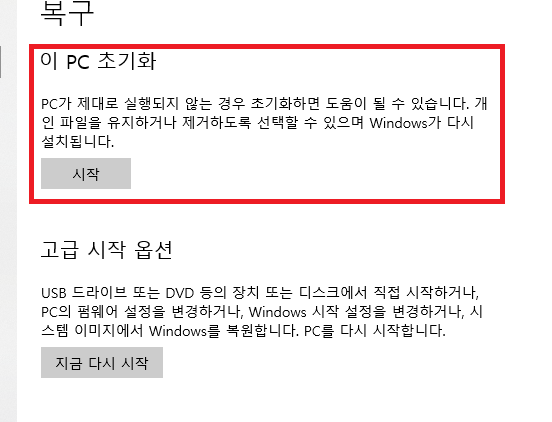
there's a built-in feature called "Reset this PC" that lets Windows reset itself internally,
so you're welcome to use that method instead.
Getting back to the main topic,
let's go over how to create a bootable disk.
1> Creating a Bootable Disk
What you'll need: a USB drive of 8GB or more, a Windows installation file (.iso), and at least 8GB of free space on your C drive
Not just any USB drive will do —
since the installation requires around 8GB of space (for Windows 10), prepare a USB drive of at least that size.
(Also, if you're installing from the C drive, make sure your C drive has at least 8GB of free space too.)
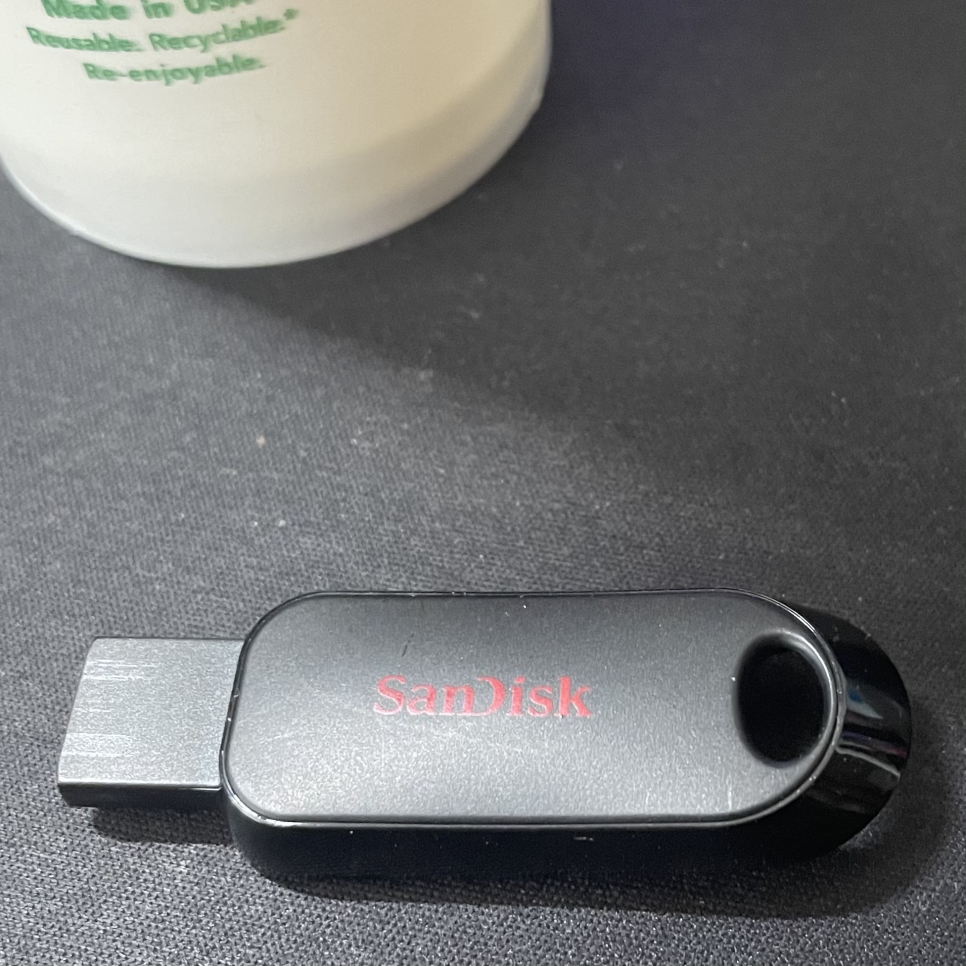
- A 16GB USB drive I picked up at Daiso for 5,000 won
Plug the USB drive you've prepared into your computer.
Download the Media Creation Tool
from Microsoft's official site (the Windows 10 installer).
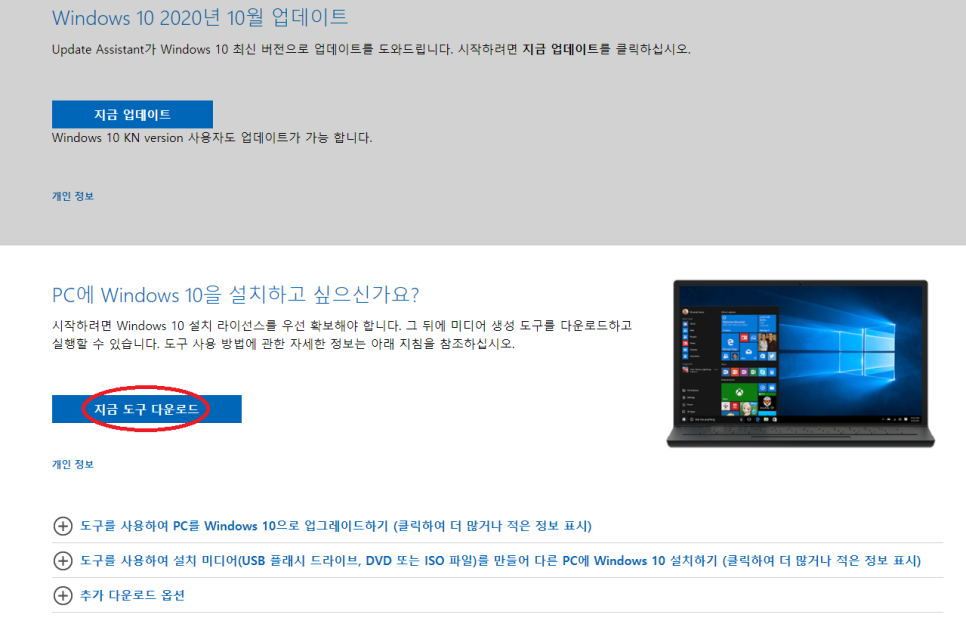
Once you download it from the site above,
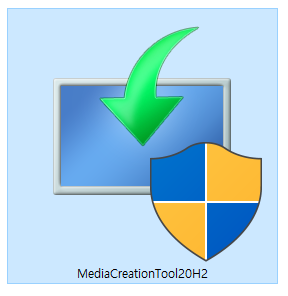
a file like this will finish downloading.
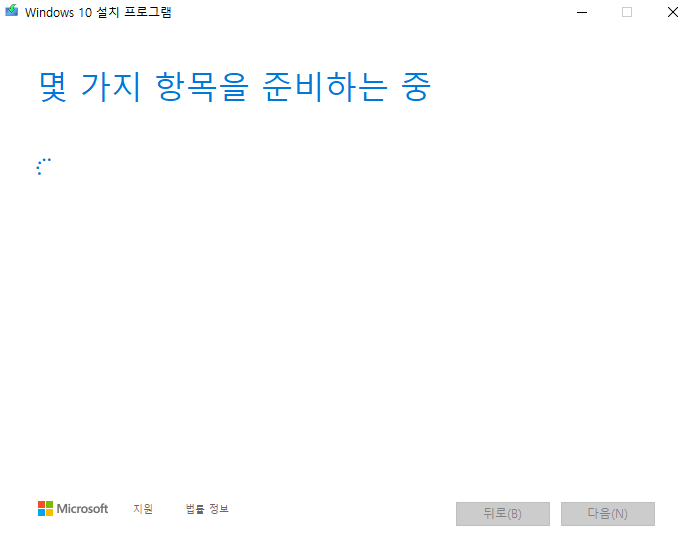
When you run it for the first time, you'll see something like this.
You'll need to wait a bit.
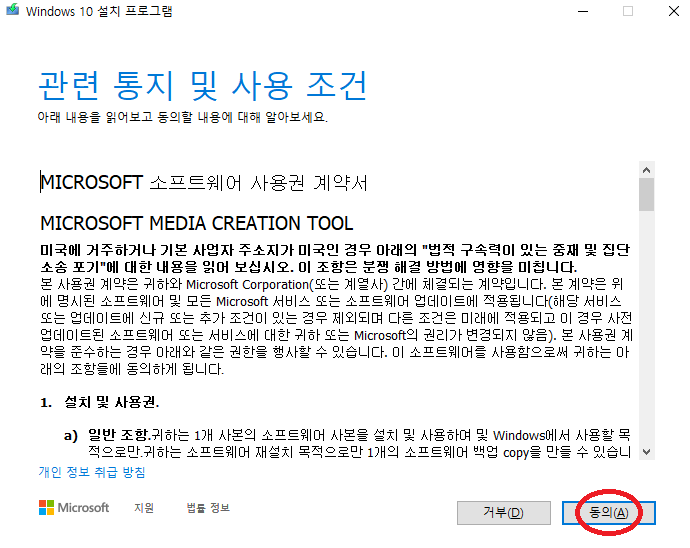
Once loading finishes, the terms and conditions will appear — go ahead and accept them.
Then it will
load again.
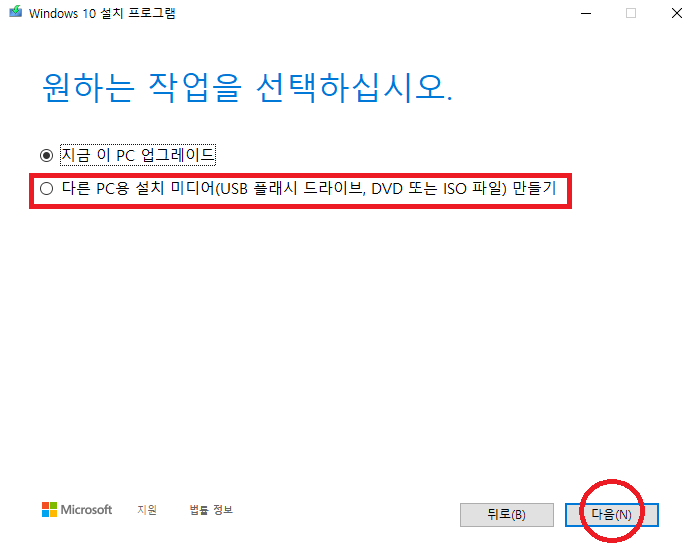
You'll be given two options.
The first option upgrades the Windows version on the PC you're currently using (7, 8 → 10),
and the second option creates a bootable disk.
Select the second option and click Next.
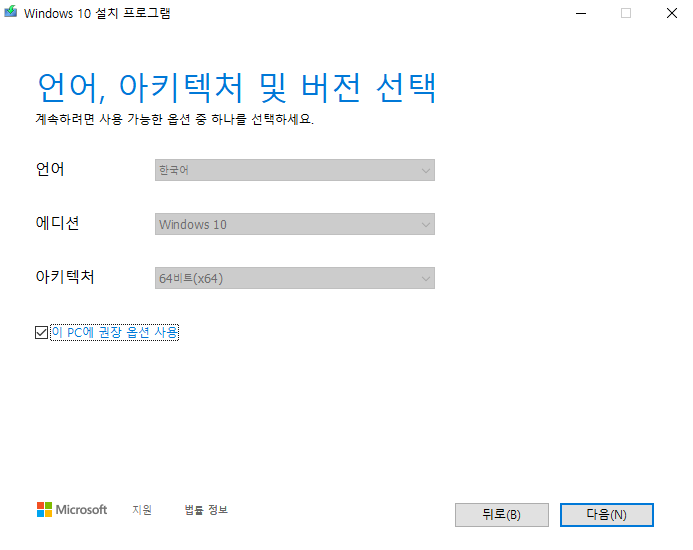
You'll then get to a version-selection step —
if you don't have any specific changes to make, just go with the recommended options. Then click Next.
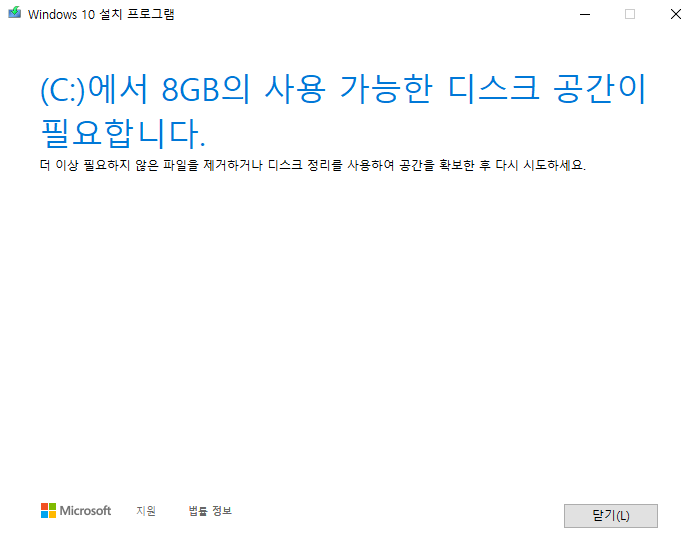
Here's an important point I forgot to mention earlier —
if you're installing from the C drive, you need to have at least 8GB of free disk space set aside beforehand.
That's because the Windows installation ISO needs to be downloaded.
If you don't free up that space in advance, you'll end up facing the same screen I did...\
If everything goes smoothly, you'll see a screen like this.
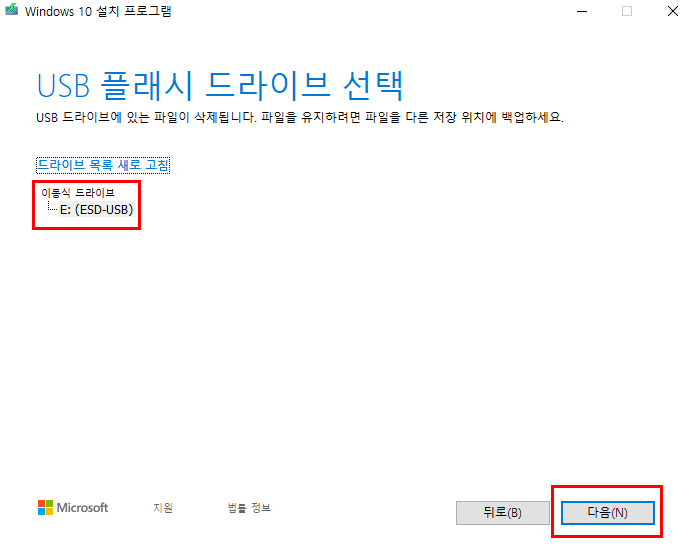
Make sure the USB drive you plugged in is correctly selected, then
move on to the next step.
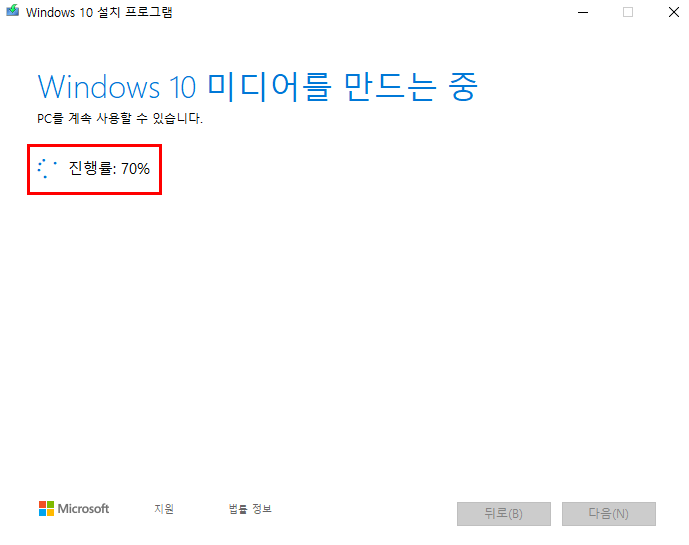
The installation process will then begin.
Wait around 20 minutes or so, and it'll be done.
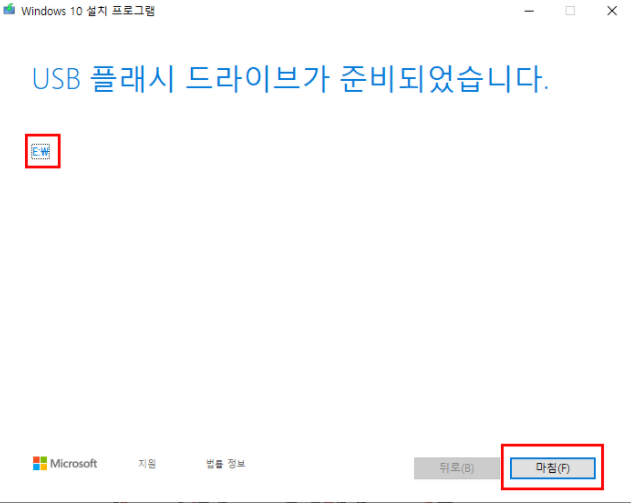
Once you get here,
your bootable disk is ready.
Go ahead and click Finish.
- To be continued in Part 2...
댓글 0